3D printing has revolutionized manufacturing, allowing users to create three-dimensional objects with ease. However, despite its accessibility, it can present a series of 3D printing faults. This article focuses on common 3D printing failures, how to fix them, and offers tips for achieving a perfect finish.
Common 3D Printing Problems
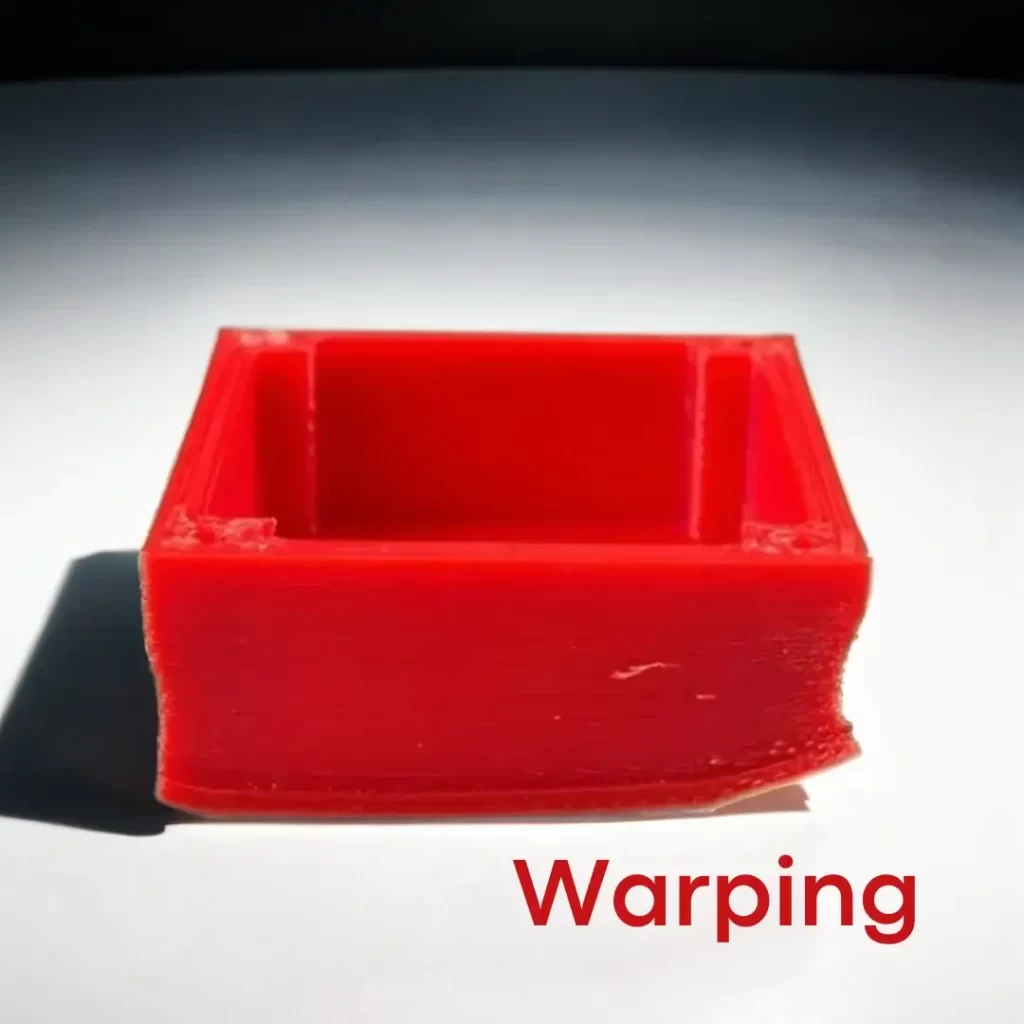
Warping
Description: Warping occurs when the corners of the print lift off the print bed, resulting in a deformed base.

Causes: It is mainly caused by the filament contracting as it cools.
Solution:
- Bed Adhesion: Use print surfaces that improve adhesion, such as glass or painter’s tape.
- Bed Temperature: Ensure the bed is at the correct temperature for the type of filament used.
- Brim or Raft: Add an extra base to the print to increase the adhesion surface.
Over-Extrusion
Description: Over-extrusion generates excess material, creating rough and imprecise surfaces.
Causes: Incorrect setting of the amount of filament extruded.
Solution:
- Extruder Calibration: Ensure the extruder is correctly calibrated.
- Flow Adjustment: Reduce the filament flow in the slicing software.
- Firmware Update: Check for available updates for your printer’s firmware.
Clogged Filaments
Description: This occurs when the filament does not feed correctly, stopping the print.
Causes: It can be caused by dust in the filament or a clogged nozzle.
Solution:
- Nozzle Cleaning: Regularly clean the nozzle with a special needle or a cleaning kit.
- Clean Filament: Ensure the filament is free of dust and stored properly.
- Extruder Check: Check the extruder feed mechanism to ensure it is not obstructed.
Layer Shifting
Description: Layer shifting occurs when layers do not align correctly, causing a misaligned print.
Causes: Mechanical issues such as loose belts or poor axis adjustment.
Solution:
- Belt Adjustment: Ensure the belts are well-adjusted and not too tight.
- Lubrication: Regularly lubricate the axes and guides.
- Calibration: Verify the printer’s calibration, ensuring all components are aligned.
Tips for a Perfect Finish
Post-Processing
Sanding: Use fine-grit sandpaper to smooth printed surfaces. Start with coarser grit and progress to finer grit.
Applying Filler: To fill small gaps or imperfections, apply plastic filler and then sand for a smooth surface.
Painting
Priming: Apply a coat of primer before painting. This helps the paint adhere better and provides an even finish.
Layered Painting: Apply several thin layers of paint instead of one thick layer. This prevents drips and ensures an even coverage.
Polishing
Mechanical Polishing: For materials like ABS, mechanical polishing can improve the surface finish.
Acetone Bath: For ABS, an acetone vapor bath can smooth the surface and give a shiny finish. However, this method should be used with caution due to toxic fumes.
Conclusion
3D printing can present several challenges, and understanding common 3D printing faults is essential. With the right knowledge and a bit of patience, these issues can be easily fixed. By following the provided tips, you can significantly improve the quality of your prints and achieve a perfect finish. The key lies in proper calibration, regular maintenance, and appropriate post-processing. Happy printing!


